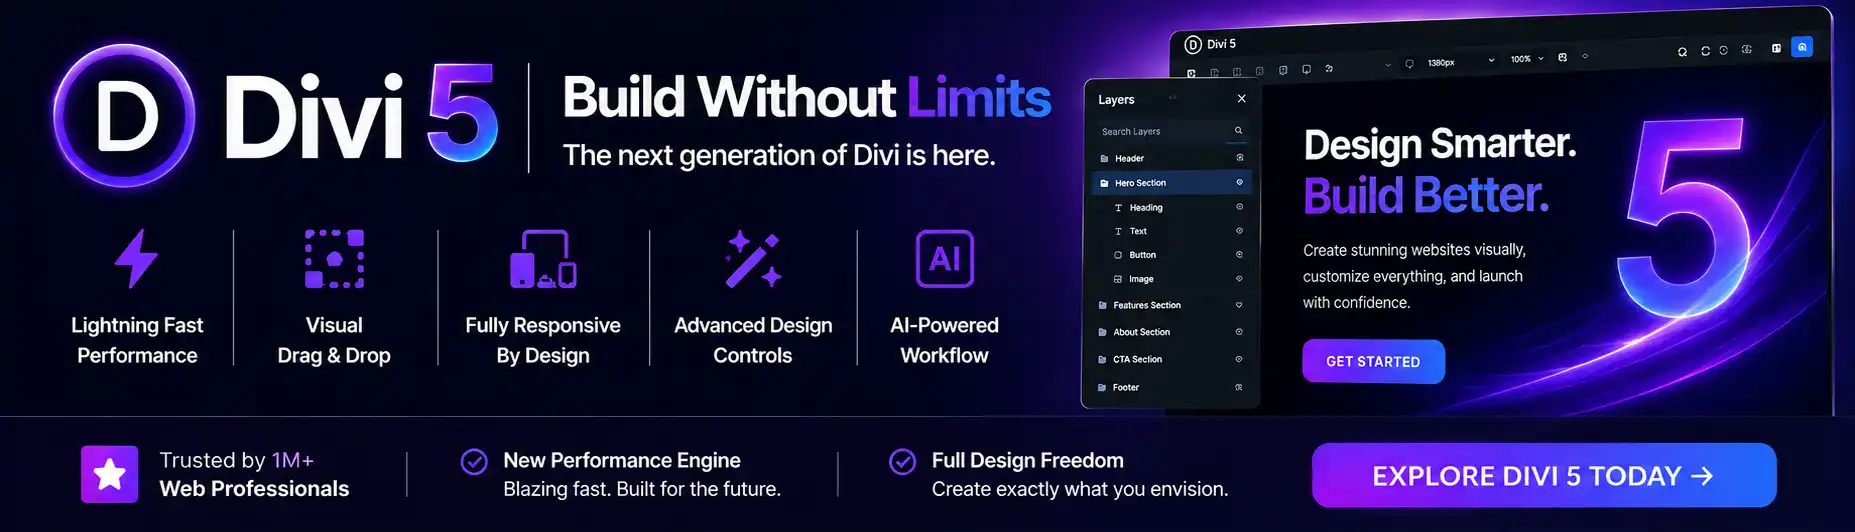
Imagine starting with absolutely zero knowledge or experience in website design, and within just one hour, creating a stunning and professional site that will impress your clients and competitors. Sound impossible? Think again. In this article, we will show you how you can go from zero to hero by setting up a professional site with Divi, the user-friendly website builder, in under an hour. Whether you’re a small business owner or a freelancer looking to showcase your portfolio, this step-by-step guide will have you up and running in no time. Get ready to transform your online presence and boost your credibility with a website that looks like it was designed by a pro.
Choosing a Domain Name
When it comes to setting up a professional website, one of the first steps you need to take is choosing a domain name. Your domain name is essentially the address of your website, and it plays a crucial role in representing your brand online. So, how do you go about selecting the perfect domain name for your website?


Researching available domain names
Before you can register a domain name, it’s important to spend some time researching and brainstorming ideas. Start by jotting down keywords that are relevant to your brand or website. Think about what your website is about and what message you want to convey to your audience. Once you have a list of keywords, you can use domain name search tools to see if they are available.
Registering a domain name
Once you have found the perfect domain name for your website, it’s time to register it. There are many domain name registration services available that allow you to purchase and secure your chosen domain name. When registering a domain, make sure to choose a reputable provider that offers competitive pricing and reliable customer support.
Choosing a domain name that reflects your brand
When choosing a domain name, it’s important to select one that reflects your brand and is easy for your audience to remember. Consider using your brand name or a variation of it as your domain name. You can also include relevant keywords to help with search engine optimization (SEO). Avoid using numbers or hyphens in your domain name, as these can make it harder for users to remember and type in correctly.
Selecting a Hosting Provider
Once you have chosen a domain name and registered it, the next step is to select a hosting provider. A hosting provider is a company that stores your website files and makes them accessible to visitors on the internet. Here are some important factors to consider when selecting a hosting provider.
Researching hosting providers
Take the time to research and compare different hosting providers. Look for providers that offer reliable servers, good uptime guarantees, and excellent customer support. Reading reviews and seeking recommendations from other website owners can also help you make an informed decision.
Comparing hosting plans and features
Hosting providers usually offer different plans with varying features and resources. Consider the needs of your website and choose a plan that provides enough storage, bandwidth, and other resources to support your website’s functionality and traffic. It’s also wise to consider scalability, as your website may grow over time and require more resources.
Selecting a reliable hosting provider
Reliability is key when choosing a hosting provider. Ensure that the provider you choose has a good track record of uptime and fast loading speeds. Look for providers that offer 24/7 technical support so that you can quickly resolve any issues that may arise. Lastly, consider the provider’s security features to protect your website from cyber threats.
Installing WordPress
Now that you have a domain name and a hosting provider, it’s time to install WordPress, one of the most popular content management systems (CMS) used to build websites. WordPress is beginner-friendly, customizable, and offers a wide range of themes and plugins to enhance your site’s functionality. Here’s how you can install WordPress.
Creating a database
Before installing WordPress, you’ll need to create a database on your hosting server. This is where all your website’s content will be stored. Most hosting providers offer an easy-to-use interface for creating a database. Simply follow the instructions provided by your hosting provider to create a new database.
Downloading WordPress files
Next, you’ll need to download the WordPress installation files from the official WordPress website. These files include all the necessary code and resources to run your website. Once downloaded, unzip the files on your computer.
Uploading WordPress files to your hosting server
To install WordPress, you’ll need to upload the files to your hosting server. You can do this using a file transfer protocol (FTP) client or through your hosting provider’s file manager. Connect to your hosting server using the FTP client and navigate to the directory where you want to install WordPress. Upload all the unzipped WordPress files to this directory.
Running the WordPress installation process
Once the WordPress files have been uploaded, you can run the installation process by visiting your website’s domain name in a web browser. WordPress will guide you through the installation steps, including providing your database information and setting up your admin account. Follow the on-screen instructions and fill in the necessary details to complete the installation.
Installing the Divi Theme
After installing WordPress, it’s time to make your website visually appealing with a theme. One popular and highly customizable theme is Divi. Divi offers a drag-and-drop builder that allows you to create stunning layouts without any coding knowledge. Here’s how you can install the Divi theme.

Purchasing and downloading the Divi Theme
To get started with Divi, you’ll need to purchase and download the theme from the Elegant Themes website. Elegant Themes offers different pricing plans that suit various needs and budgets. Once you have purchased the Divi theme, you will be able to download the theme files.
Uploading and activating the Divi Theme in WordPress
To install the Divi theme, log in to your WordPress admin dashboard and navigate to the “Appearance” section. Click on “Themes” and then the “Add New” button. Choose the option to upload a theme and select the Divi theme zip file that you downloaded. Click “Install Now” and wait for the theme to be uploaded. Once the installation is complete, click “Activate” to activate the Divi theme.
Configuring the basic settings of the Divi Theme
After activating the Divi theme, you can configure its basic settings to suit your preferences. Divi offers a range of customization options, allowing you to change fonts, colors, layouts, and more. Explore the Divi theme settings and make adjustments as necessary to create a unique and visually appealing website.
Customizing the Site’s Layout
Now that you have installed the Divi theme, it’s time to start customizing the layout of your website. Divi offers a user-friendly interface called the Divi Builder, which allows you to create and modify layouts with ease. Here’s how you can get started.
Exploring the Divi Builder interface
The Divi Builder interface is divided into sections, rows, and modules. Sections are the main building blocks of your layout, rows allow you to organize content horizontally, and modules contain the actual content. Spend some time familiarizing yourself with the Divi Builder interface and its various features.
Choosing a pre-designed layout or starting from scratch
Divi provides a wide range of pre-designed layouts that you can choose from. These layouts are professionally designed and can serve as a great starting point for your website. Alternatively, if you prefer to start from scratch, you can opt for a blank canvas and build your layout from the ground up.

Modifying the layout with drag and drop functionality
One of the standout features of the Divi Builder is its drag-and-drop functionality. With just a few simple clicks, you can drag and drop modules, rows, and sections to rearrange and modify your layout. This allows you to create a unique and visually appealing design without any coding knowledge.
Customizing the site’s header and footer
In addition to the main content area, Divi also allows you to customize the header and footer of your website. You can choose from different header and footer layouts, add logos, navigation menus, and other elements to create a cohesive and professional-looking design.
Adding Essential Pages
Now that you have customized the layout of your website, it’s time to add essential pages that will provide information and engage your audience. Here are some important pages that you should consider adding to your website.
Creating and publishing the homepage
The homepage is often the first page that visitors see when they land on your website. It should provide a clear overview of your brand, products, or services. Use the Divi Builder to create a visually appealing and informative homepage that captures the attention of your audience.
Designing and adding the About page
The About page is an opportunity to tell your brand’s story and showcase your expertise. Use this page to introduce yourself or your team, share your mission and values, and highlight any notable achievements or qualifications. With the Divi Builder, you can easily create a visually stunning About page with engaging content.
Creating a Contact page with a contact form
A Contact page is essential for providing your audience with a way to get in touch with you. Include a contact form on this page to make it easy for visitors to send you messages or inquiries. With Divi, you can easily add a contact form module to your Contact page and customize it to collect the information you need.

Setting up a blog page
If you plan to have a blog on your website, it’s important to set up a dedicated blog page. This page will serve as a platform for you to share your expertise, provide valuable content to your audience, and improve your website’s visibility in search engines. Use Divi’s blog module to showcase your blog posts in an organized and visually appealing manner.
Optimizing SEO and Performance
In order to make your website visible and easily discoverable by search engines, it’s important to optimize it for SEO (search engine optimization). Additionally, optimizing your website’s performance will ensure that it loads quickly and provides a smooth user experience. Here’s how you can optimize SEO and performance with Divi.
Installing and configuring an SEO plugin
WordPress offers several SEO plugins that can help improve the visibility of your website in search engine results. One popular SEO plugin is Yoast SEO. Install and activate this plugin and follow the on-screen instructions to optimize your website’s meta tags, readability, and overall SEO performance.
Optimizing site speed and performance
Loading speed is a crucial factor in determining user satisfaction and search engine rankings. To optimize your website’s speed and performance, consider using a caching plugin like W3 Total Cache or WP Rocket. These plugins help reduce the loading time of your website by caching resources and optimizing code.
Setting up a responsive and mobile-friendly design
With the increasing use of mobile devices, it’s important to ensure that your website is responsive and mobile-friendly. Divi automatically generates responsive designs, so your website will adapt to different screen sizes and devices. However, it’s always a good idea to test your website on different devices and screen sizes to ensure optimal performance.
Adding Content and Media
Now that you have set up the foundation of your website, it’s time to start adding content and media to engage and inform your audience. Here are some tips to help you create engaging and informative content.
Creating engaging and informative content
When creating content for your website, it’s important to provide value to your audience. Write informative blog posts, create engaging videos or podcasts, or offer valuable resources such as e-books or guides. Aim to solve your audience’s problems or answer their questions to establish yourself as an authority in your field.
Adding images and videos to enhance the site
Visual content can greatly enhance the user experience of your website. Use compelling images or videos to grab your audience’s attention and support your written content. Divi makes it easy to add images and videos to your website with its built-in modules and drag-and-drop functionality.
Organizing content using categories and tags
To make it easier for your audience to navigate and find content on your website, organize your content using categories and tags. Categories help group related content together, while tags provide more specific labels for individual pieces of content. Divi allows you to easily create and manage categories and tags, making it simple for visitors to find what they’re looking for.
Installing Essential Plugins
Plugins are essential tools that can enhance the functionality and performance of your website. Here are some essential plugins you should consider installing.
Identifying essential plugins for your site’s functionality
The essential plugins you need will depend on the specific functionality you want to incorporate into your website. For example, if you plan to sell products online, you will need an e-commerce plugin like WooCommerce. Identify the specific features you want to include on your website and research the plugins that can help you achieve those goals.
Installing and activating plugins for forms, security, and analytics
Some essential plugins that most websites can benefit from include contact form plugins, security plugins, and analytics plugins. Contact form plugins like Contact Form 7 or Gravity Forms allow you to easily create and manage contact forms on your website. Security plugins like Wordfence or Sucuri can help protect your website from malware and hacks. Analytics plugins like Google Analytics provide valuable insights into your website’s performance and audience.
Configuring plugins to meet your site’s requirements
Once you have installed and activated the necessary plugins, it’s important to configure them according to your website’s requirements. Most plugins come with detailed instructions or settings pages where you can customize their functionality. Take the time to review and adjust the settings of each plugin to ensure they are optimized for your website’s needs.
Testing and Launching the Site
Before launching your website, it’s important to thoroughly test its functionality and compatibility across different browsers and devices. Here are some steps you can take to ensure your website is ready to go live.
Testing the site’s functionality and compatibility
Go through your website and test all its features and functionalities. Make sure that all links are working correctly, forms can be submitted, and that the overall user experience is smooth. Test your website on different browsers such as Chrome, Firefox, and Safari, and on different devices including desktops, laptops, and mobile devices.
Optimizing for different browsers and devices
If you encounter any issues or inconsistencies during the testing phase, make the necessary adjustments to ensure your website is compatible with different browsers and devices. Pay attention to responsive design and ensure that your website looks and functions correctly on smaller screens.
Making final adjustments and launching the site
Once you are satisfied with the functionality and compatibility of your website, it’s time to make any final adjustments and prepare for launch. This might include updating meta tags, double-checking spelling and grammar, or optimizing images for faster loading speeds. Once everything is in order, it’s time to officially launch your website and share it with the world.
In under an hour, you have gone from zero to hero by setting up a professional website with the help of Divi. By following these steps and utilizing the features and customization options offered by Divi, you can create a visually stunning and functional website that represents your brand and engages your audience. Happy building!