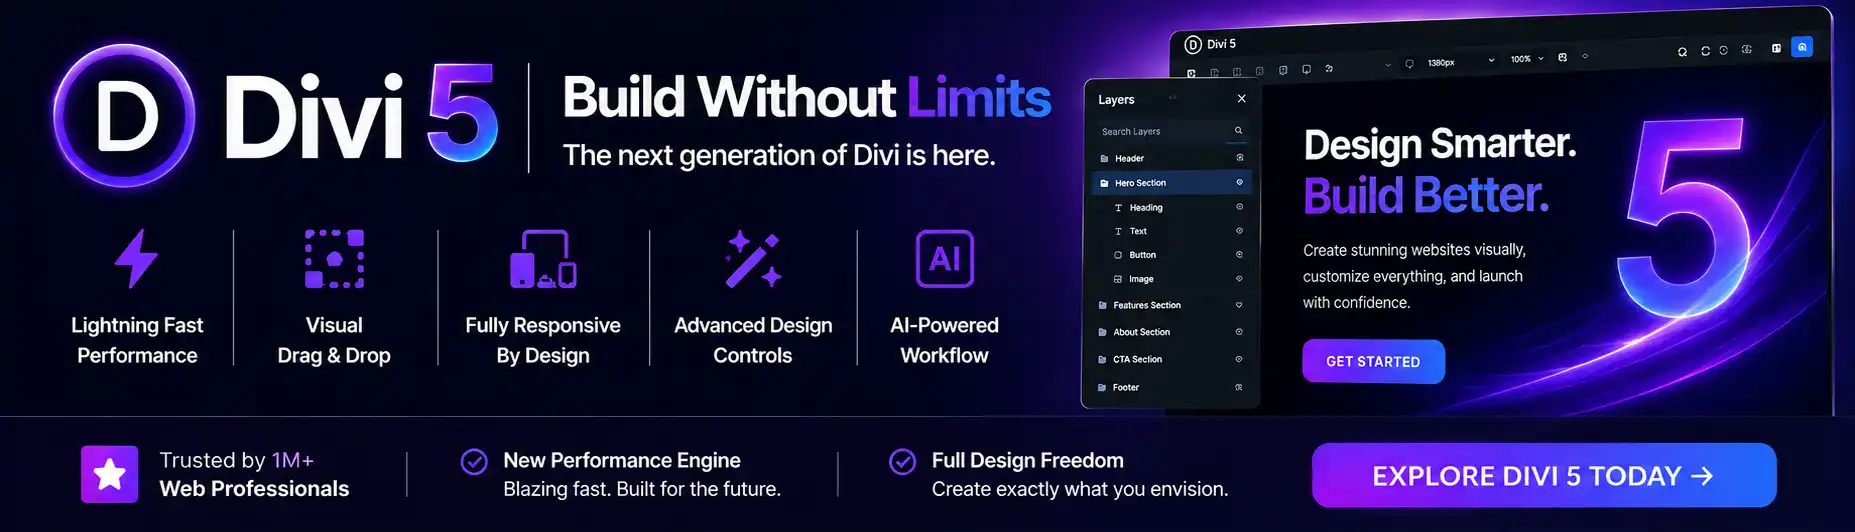
If you’ve ever wanted to create your own website but felt overwhelmed by the process, look no further. With Divi, designing and building your first website becomes a breeze. In this step-by-step guide, we’ll walk you through the entire process, from choosing a domain name to customizing your site’s design. Whether you’re a beginner or have some experience with website building, Divi makes it easy for anyone to create a professional and stylish website. So, grab your imagination and let’s get started on bringing your website dreams to life!
Choosing a Domain and Hosting Platform
Selecting a memorable domain name
When choosing a domain name for your website, it’s important to make it memorable and easy to spell. Consider using keywords related to your website’s purpose to improve search engine optimization (SEO). It’s also a good idea to choose a domain extension that is relevant to your target audience, such as .com for commercial websites or .org for non-profit organizations.
Choosing a reliable hosting provider
Selecting a reliable hosting provider is crucial for the success of your website. Look for a provider that offers fast and reliable servers, excellent customer support, and a user-friendly control panel. Consider factors such as uptime guarantees, storage space, bandwidth, and scalability to ensure that your website can handle increasing traffic as it grows.
Setting up your hosting account
After selecting a hosting provider, you’ll need to set up your hosting account. This typically involves choosing a hosting plan that suits your needs, selecting a domain name (if you haven’t already done so), and providing payment information. Once your account is set up, the hosting provider will provide you with DNS (Domain Name System) information that you’ll need to connect your domain to your hosting account.
Installing and Setting Up WordPress
Creating a database
Before installing WordPress, you’ll need to create a database. This can usually be done through your hosting provider’s control panel. Simply navigate to the database section, create a new database, and take note of the database name, username, and password.
Uploading and installing WordPress
To install WordPress, you’ll first need to download the latest version from the official WordPress website. Once downloaded, use an FTP (File Transfer Protocol) client to upload the WordPress files to your hosting account. Next, navigate to your website’s URL, and follow the on-screen instructions to complete the installation process. You’ll need to enter the database information you created earlier.
Configuring basic settings
After installing WordPress, you’ll need to configure some basic settings. This includes setting the title and tagline for your website, choosing a default language, and adjusting other general settings. You can access these settings through the WordPress dashboard by selecting “Settings” from the left-hand menu.
Installing the Divi Theme
Purchasing and downloading the Divi theme
To use the Divi theme, you’ll first need to purchase it from the Elegant Themes website. Upon making your purchase, you’ll be able to download the theme files and receive a license key.
Uploading and activating the Divi theme
Once you have downloaded the Divi theme files, you can upload and activate it in WordPress. Navigate to the “Appearance” section in the WordPress dashboard, select “Themes,” and click on the “Add New” button. From there, choose the Divi theme zip file you downloaded and click “Install Now” followed by “Activate.”
Installing and activating the required plugins
The Divi theme requires a few additional plugins to work properly. After activating the Divi theme, you’ll be prompted to install and activate these required plugins. Simply follow the on-screen instructions to install and activate them. These plugins are necessary for the full functionality of the Divi theme.
Understanding the Divi Builder
Accessing the Divi Builder
The Divi Builder is a visual drag-and-drop page builder that allows you to easily create and customize your website’s layout. To access the Divi Builder, simply edit the page you want to work on in WordPress. At the top of the page editor, you’ll see a button labeled “Use The Divi Builder.” Click on it to enter the Divi Builder interface.
Exploring the Divi Builder interface
Once inside the Divi Builder, you’ll see a clean and user-friendly interface. On the left-hand side, you’ll find the modules panel, which contains a wide variety of elements you can add to your page. In the center, you’ll see the canvas where you build your page by dragging and dropping modules. On the right-hand side, there are settings and options for each module you add.
Understanding sections, rows, and modules
In Divi, your website’s layout is built using sections, rows, and modules. Sections are the large containers that house your content. Rows are the horizontal divisions within a section, and modules are the individual elements that make up your website’s content, such as text blocks, images, or buttons. Understanding how sections, rows, and modules work together will help you create a well-structured and visually appealing website.
Building Your Website Structure
Creating a new page
To start building your website’s structure, create a new page in WordPress. Go to the “Pages” section in the WordPress dashboard and select “Add New.” Give your page a title and click the “Use The Divi Builder” button to begin designing your page using the Divi Builder.
Adding and editing sections
To add a section to your page, click the gray “+” button in the Divi Builder. Choose the desired section layout from the available options, and it will be added to your page. You can then customize the section by adjusting its settings, such as background color or image, column structure, and spacing.
Customizing row settings
Once you have added a section, you can add rows within it by clicking the gray “+” button within the section. Select the desired row layout and customize its settings, such as column structure and spacing. Rows allow you to further organize and structure your content within the section.
Adding modules to your layout
To add content to your page, you’ll need to add modules. Modules can be added within rows by clicking the gray “+” button within the row. Choose the desired module from the modules panel and customize its settings to fit your needs. Modules can be easily moved and rearranged within rows or between different sections.
Customizing Your Website Design
Using the Visual Builder for live customization
Divi offers a Visual Builder mode that allows you to customize your website’s design in real-time. To access the Visual Builder, simply click the purple icon with three white lines at the bottom of the Divi Builder interface. This mode offers a more intuitive and visual approach to designing your website, making it easy to make adjustments and see them immediately.
Exploring the Divi Theme Customizer
In addition to the Visual Builder, Divi also provides a Theme Customizer where you can make global design changes to your website. To access the Theme Customizer, go to the “Appearance” section in the WordPress dashboard and select “Customize.” From there, you can modify various settings, such as colors, typography, and layout options, to create a cohesive and personalized design.
Choosing and modifying pre-built layouts
Divi offers a wide range of pre-built layouts that you can use as a starting point for your website. These layouts cover various industries and design styles, and can be easily imported into your website. To choose a pre-built layout, click the up arrow icon in the Divi Builder and select “Choose a Premade Layout.” Once imported, you can modify the layout to fit your specific needs and preferences.
Enhancing Your Website with Plugins
Finding and selecting compatible plugins
To enhance the functionality of your website, you can install and activate plugins. When selecting plugins, it’s important to choose ones that are compatible with the Divi theme and won’t interfere with its performance. Look for reputable plugins with positive reviews and regular updates from the developer.
Installing and activating useful plugins
To install plugins, go to the “Plugins” section in the WordPress dashboard and select “Add New.” Use the search bar to find the desired plugin, and click “Install Now” followed by “Activate” to activate it on your website. Once activated, you can configure the plugin’s settings to align with your website’s needs.
Configuring plugin settings
Each plugin will have its own unique settings that you can configure to enable specific features or customize functionality. To access a plugin’s settings, navigate to the “Plugins” section in the WordPress dashboard and select “Installed Plugins.” Find the desired plugin and click on the “Settings” link below it. From there, you can adjust the plugin’s settings according to your preferences.
Optimizing Your Website for SEO
Installing and configuring an SEO plugin
To optimize your website for search engines, it’s recommended to install an SEO plugin. Popular options include Yoast SEO and All in One SEO Pack. After installing the chosen plugin, you’ll need to configure its settings. This typically involves entering your website’s meta information, creating XML sitemaps, and adjusting other SEO-related settings.
Performing keyword research
Keyword research is an essential part of SEO. It involves identifying the keywords and phrases that your target audience is using to search for information related to your website. Use keyword research tools like Google Keyword Planner or SEMrush to find relevant keywords with high search volume and low competition. Incorporate these keywords naturally into your website’s content and metadata.
Optimizing your content and metadata
To improve your website’s SEO, optimize your content and metadata with relevant keywords. Ensure that your page titles, headings, and meta descriptions include targeted keywords. Additionally, create high-quality, informative, and engaging content that provides value to your visitors. Don’t forget to optimize your images by providing descriptive alt tags and compressing their file sizes for faster loading times.
Securing Your Website
Choosing strong login credentials
One of the most important steps in securing your website is choosing strong login credentials. Use a unique username and a strong, complex password that combines uppercase and lowercase letters, numbers, and symbols. Avoid using easily guessable information, such as your name or birthdate.
Installing a security plugin
Installing a security plugin can add an extra layer of protection to your website. There are several reputable security plugins available, such as Wordfence or Sucuri Security. These plugins can help detect and prevent security threats, such as malware or unauthorized access attempts. Configure the plugin settings according to your security needs to ensure your website is well protected.
Enabling SSL encryption
SSL (Secure Sockets Layer) encryption encrypts the data transmitted between your website and your visitors’ browsers, making it harder for hackers to intercept sensitive information. Many hosting providers offer free SSL certificates, which can be easily enabled through your hosting account’s control panel. This will display a secure padlock icon in the browser’s address bar, reassuring visitors that their connection is encrypted.
Regularly updating WordPress and plugins
To maintain a secure website, it’s crucial to regularly update WordPress core files and plugins. Updates often include security patches that address vulnerabilities. Enable automatic updates when possible, and regularly check for available updates in the “Updates” section of the WordPress dashboard. Always ensure that you have a recent backup of your website before performing updates.
Testing and Launching Your Website
Previewing and testing your website
Before launching your website, it’s important to thoroughly preview and test it. Use the various preview options in the Divi Builder to see how your website looks on different devices and screen sizes. Test all links, forms, and interactive elements to ensure they function correctly. Additionally, check for any formatting or design issues that may need adjustment.
Fixing any formatting or functionality issues
During the testing phase, it’s possible to encounter formatting or functionality issues. Take the time to fix any issues that arise before launching your website. This may involve adjusting settings, modifying CSS code, or seeking assistance from the Divi support forums or Elegant Themes customer support.
Choosing a launch date
After thoroughly testing your website and addressing any issues, it’s time to choose a launch date. Consider any marketing or promotional activities that you may want to coincide with the launch. Set a realistic launch date that allows you enough time to finalize all content and make any final adjustments before going live.
Making your website live
Once you have chosen a launch date, it’s time to make your website live. Update your website’s DNS settings to point your domain to your hosting account. This can typically be done through your domain registrar’s control panel. After the DNS changes propagate, your website will be accessible to visitors across the internet. Celebrate the launch of your new website and start promoting it to your target audience.